Spark 9 in Chennai, July 4-5. A 36-hour agentic AI hackathon with 5 enterprise AI tracks!
Home / Blog / Model Context Protocol with LangChain
Model Context Protocol with LangChain Agent Client
Prince Krampah
Python Programmer


What is model context protocol? Well lets take a deep dive into understanding the concept behind MCP.
Here is what the official MCP docs has to say about MCP:
MCP is an open protocol that standardizes how applications provide context to LLMs. Think of MCP like a USB-C port for AI applications. Just as USB-C provides a standardized way to connect your devices to various peripherals and accessories, MCP provides a standardized way to connect AI models to different data sources and tools.
 Let me make this easier to understand. Imagine that you are building AI agents that work with different language models and AI systems, where each how each model understands a tool is different. You have written code to enable your AI agent build for one specific AI model.
Then in the future you wish to switch to another AI model with a different architecture and tool definition methodolodgy, well, you have to go back and write your tools again to suite this new AI model architecture and methodology.
I guess as programmer you already see the issue here. This is not scalable. What if we can write out tools once and then be able to connect it with any AI model architecture, without concern for how this AI model architecture works in the background.
 This will save us alot of headaches no? Yes, it will, it is not only scalable, we can also connect any AI model we want!
Why MCP
You might be thinking well, we have just introduced another layer (MCP layer), another layer translates to more complexity? Yes, but the advantages of having this additional layer out weights the disadvantages by magnitudes. Here, take a look at this from the official docs
MCP helps you build agents and complex workflows on top of LLMs. LLMs frequently need to integrate with data and tools, and MCP provides:
A growing list of pre-built integrations that your LLM can directly plug into
The flexibility to switch between LLM providers and vendors
Best practices for securing your data within your infrastructure
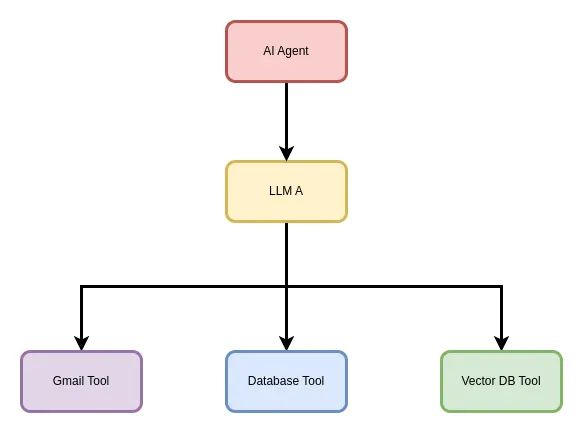
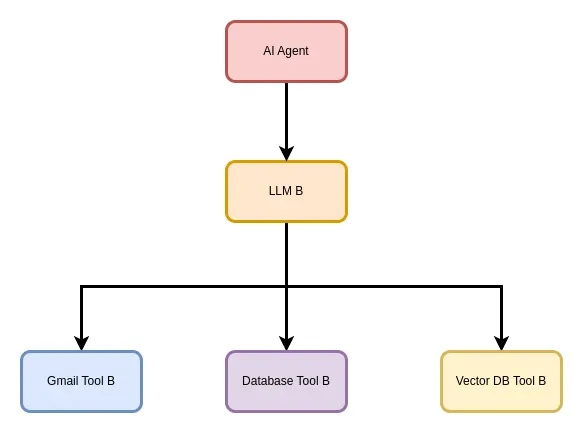
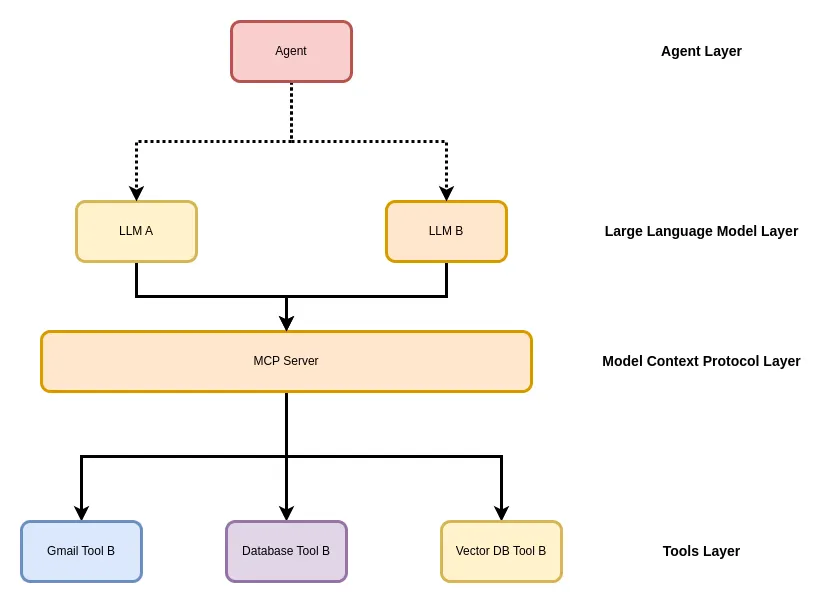
General Architecture Of MCP
In general the MCP architecture follows the client-server architecture. Where we can have a client connect to more than one server (MCP servers).
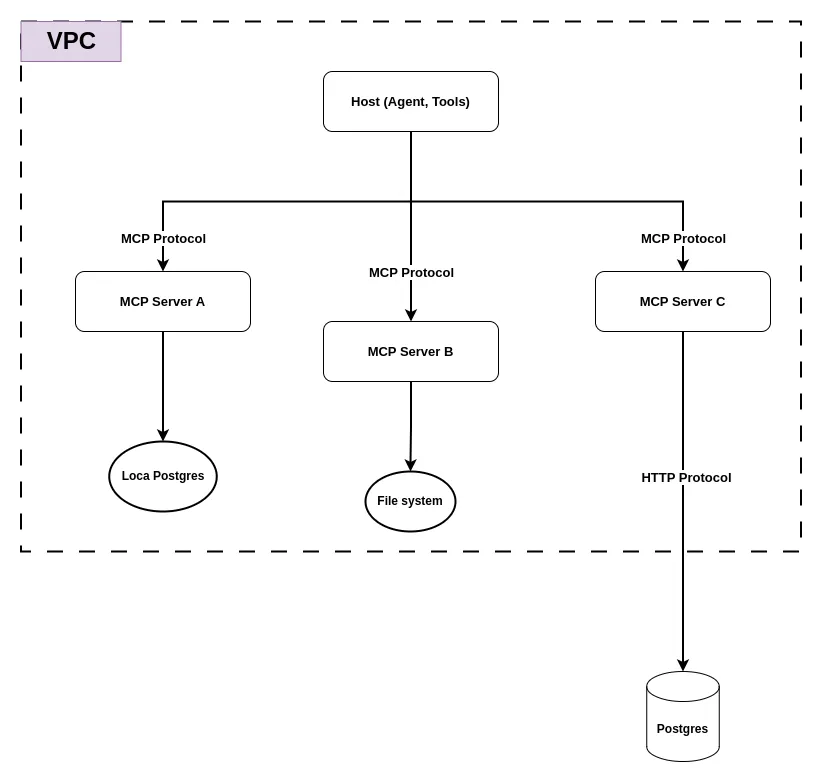
Looking at the diagram:
MCP Hosts: The “Host (Agent, Tools)” box at the top represents programs that want to access data through the Model Context Protocol.
MCP Clients: Clients that connect directly with the MCP Servers (A, B, C) via MCP Protocol.
MCP Servers: Represented by three boxes (MCP Server A, B, C), each connecting to different services.
Local Data Sources: File system and local Postgres
Remote Services: The Postgres outside of the VPC.
The architecture shows a VPC (Virtual Private Cloud) containing the MCP infrastructure, with the Host communicating with multiple MCP Servers that each handle specific service integrations.
Core Concepts In MCP
Resources: Data objects clients can access and read (similar to files or API responses)
Tools: Executable functions LLMs can trigger (requiring user permission)
Prompts: Ready-made text templates designed to assist users with specific tasks
Creating Your First MCP Server
For our first MCP server, I want to create the weather MCP server on the official docs, just to get us introduced to the MCP way of things. We’ll then connect this server to a LangChain agent.
You can follow the instruction from the official docs if you wish to, I’ll also provide the steps here.
Setup Environment
We’ll use uv , it’s the recommended package manager and it’s really fast, so I’ll stick with using it. Run this command to install it
curl -LsSf https://astral.sh/uv/install.sh | sh I already had it installed on my machine. If it is your first time installing it, you might need to restart your terminal.
Once thin, I am using the Ma/Linux commands, if you are using Windows, you can follow the Powershell commands on the official docs.
# Create a new directory for our project
uv init weather
cd weather
Create virtual environment and activate it
uv venv
source .venv/bin/activate
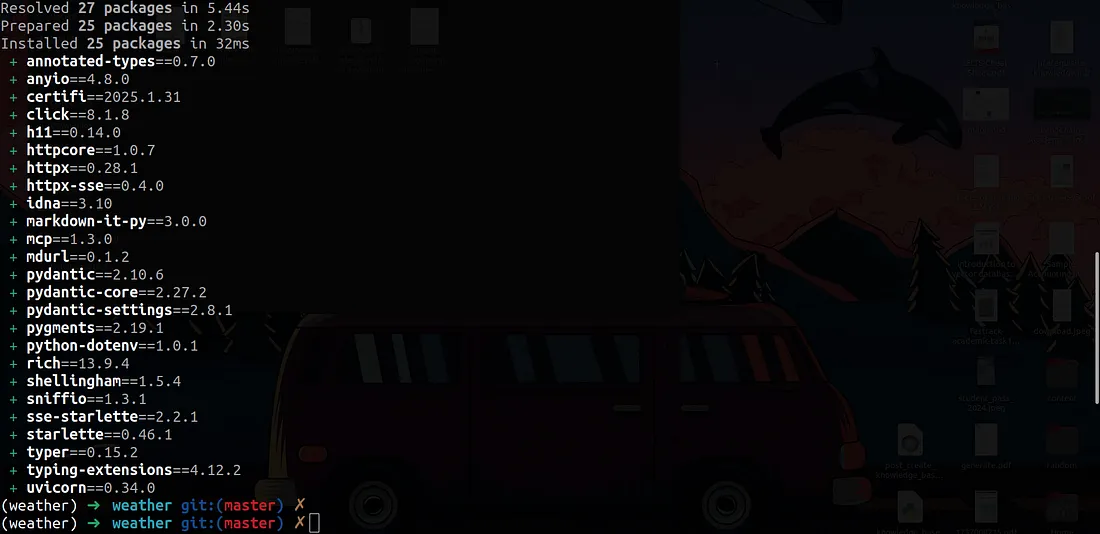
Install dependencies
uv add "mcp[cli]" httpx
Create our server file
touch weather.py
 Once this is done, you can open the directory in your favourite IDE. I’ll be using VSCode, feel free to use Cursor if you wish to, or any other IDE out here.
code .Writing The Server Code
For the code in this article, I’ll be using the code from the official docs. Thanks to the MCP team for the code.
First we’ll instantiate the FastMCP class, this has helps with most of the tool creation logic like tool description from the doc-strings of tool functions as well as function type hints.
from typing import Any
import httpx
from mcp.server.fastmcp import FastMCP
Initialize FastMCP server
mcp = FastMCP("weather")
Constants
NWS_API_BASE = "https://api.weather.gov"
USER_AGENT = "weather-app/1.0"
Helper Functions
We’ll also create the helper functions that well be used to help format the data from the API.
async def make_nws_request(url: str) -> dict[str, Any] | None:
    """Make a request to the NWS API with proper error handling."""
    headers = {
        "User-Agent": USER_AGENT,
        "Accept": "application/geo+json"
    }
    async with httpx.AsyncClient() as client:
        try:
            response = await client.get(url, headers=headers, timeout=30.0)
            response.raise_for_status()
            return response.json()
        except Exception:
            return None
def format_alert(feature: dict) -> str:
"""Format an alert feature into a readable string."""
props = feature["properties"]
return f"""
Event: {props.get('event', 'Unknown')}
Area: {props.get('areaDesc', 'Unknown')}
Severity: {props.get('severity', 'Unknown')}
Description: {props.get('description', 'No description available')}
Instructions: {props.get('instruction', 'No specific instructions provided')}
"""
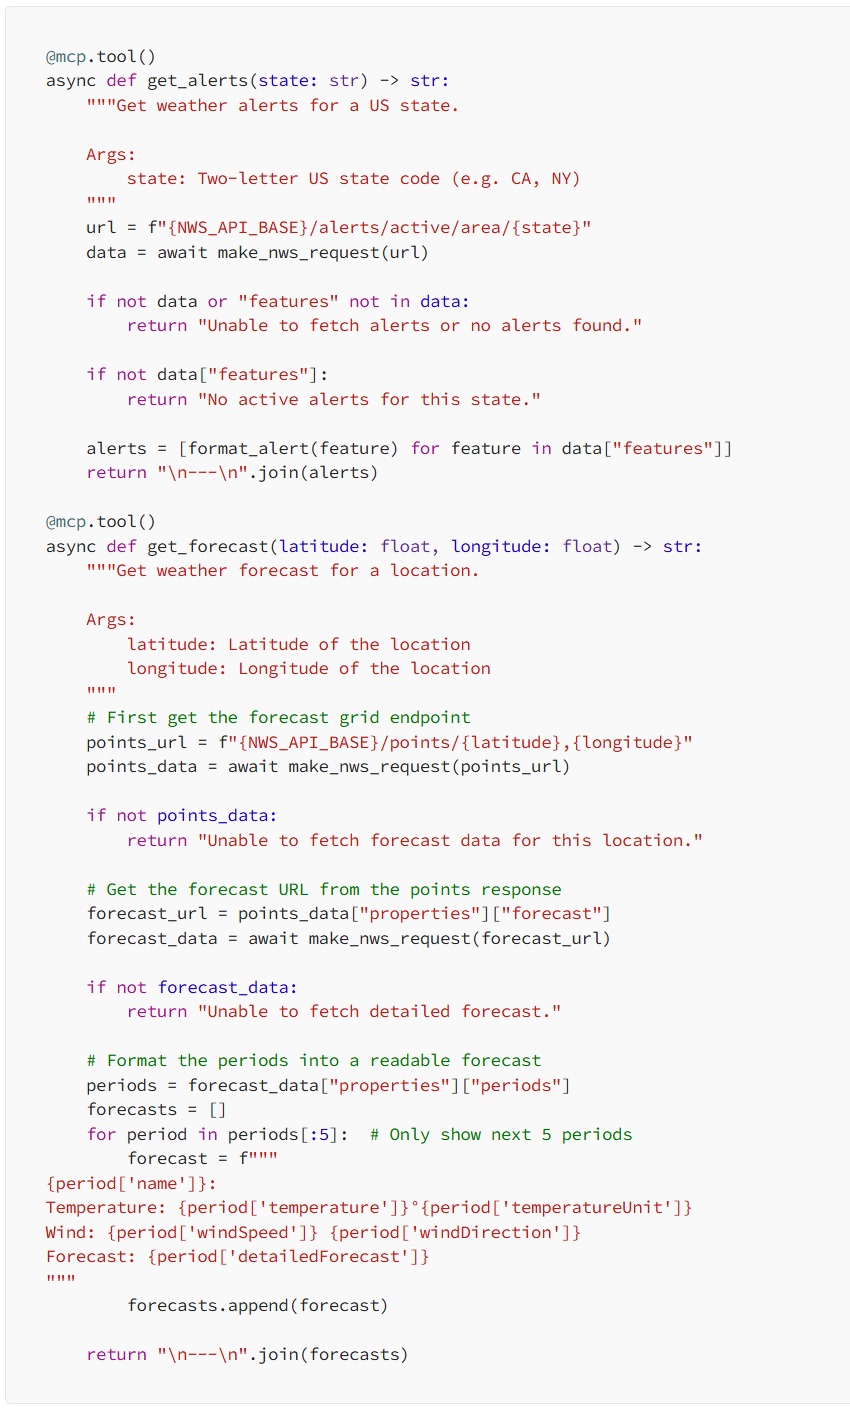
Creating Tools
We’ll now create the actual tools under the MCP server using the mcp.tool() decorator in Python.
Executing The Server
Once we have all thes in place, we can add the entry point into our script to execute the MCP server. Add the following code at the bottom of your weather.py script.
if __name__ == "__main__":
    # Initialize and run the server
    mcp.run(transport='stdio')
From the code above we specified stdio , what does this mean?
STDIO (Standard Input/Output) in HTTP refers to the standard streams for input and output data when working with HTTP connections. In the context of web servers and HTTP:
Standard Input (stdin): Used to receive data sent to the server, like POST request data
Standard Output (stdout): Used to send response data back to the client
Standard Error (stderr): Used for logging errors and debugging information
When building HTTP servers or services that use command-line interfaces, STDIO provides a way to pipe HTTP request/response data through standard Unix-style streams, allowing for integration with other command-line tools and processes.
We can also specify sse :
HTTP technology that lets servers push updates to clients
One-way communication (server to client only)
Keeps connection open for real-time updates
Simpler than WebSockets
Used for notifications, data feeds, and streaming updates
Once done, navigate to where your weather.py script is located and run the following commands in your terminal:
uv run weather.py
Connecting To A Client
You can connect to this server using different clients, like the Claude Desktop client, Cursor, and a lot more other clients. You can read more about this here.
LangChain Agent MCP Client
I want to create a custom LangChain agent to connect with the MCP server we have running. For this we’ll have to install the langchain-mcp-adapters for this you can run the following commands.
First stop the weather script and run the following
uv add ipykernelReason for this is because, I am going to be using a notebook in VScode for the LangChain agent.
Once this is done installing, go ahead and run the weather MCP server script again
uv run weather.pyI have also gone ahead and created a client.ipynb in the same directory as our weather.py file.
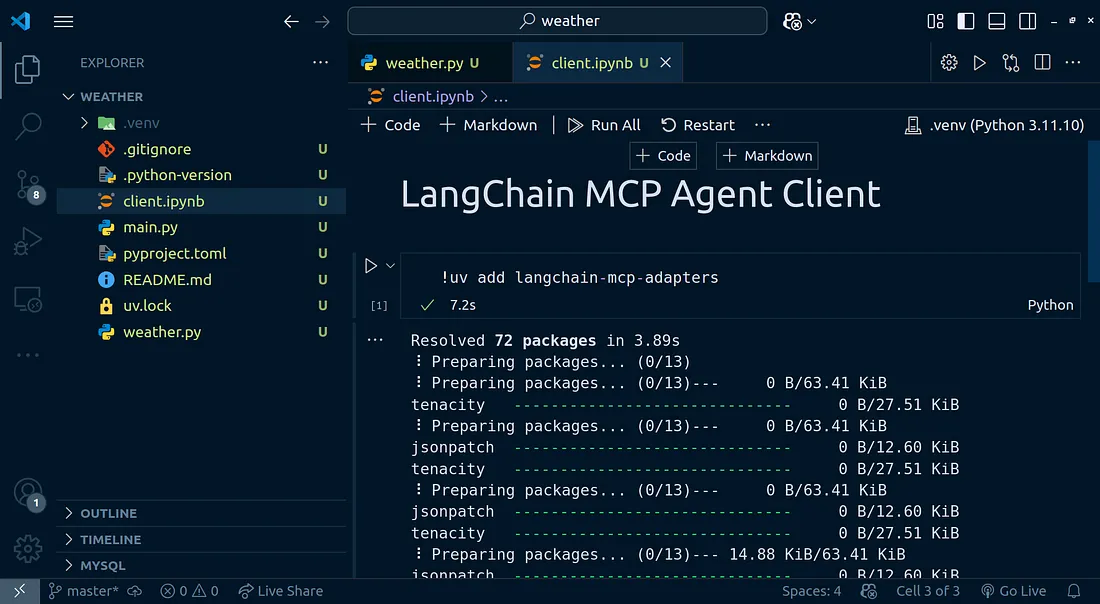 You can then run this command to install the LangChain MCP adapters
!uv add langchain-mcp-adaptersOnce this is done installing, we can install the LangChain anthropic and LangGraph clients.
!uv add langgraph langchain-anthropic python-dotenv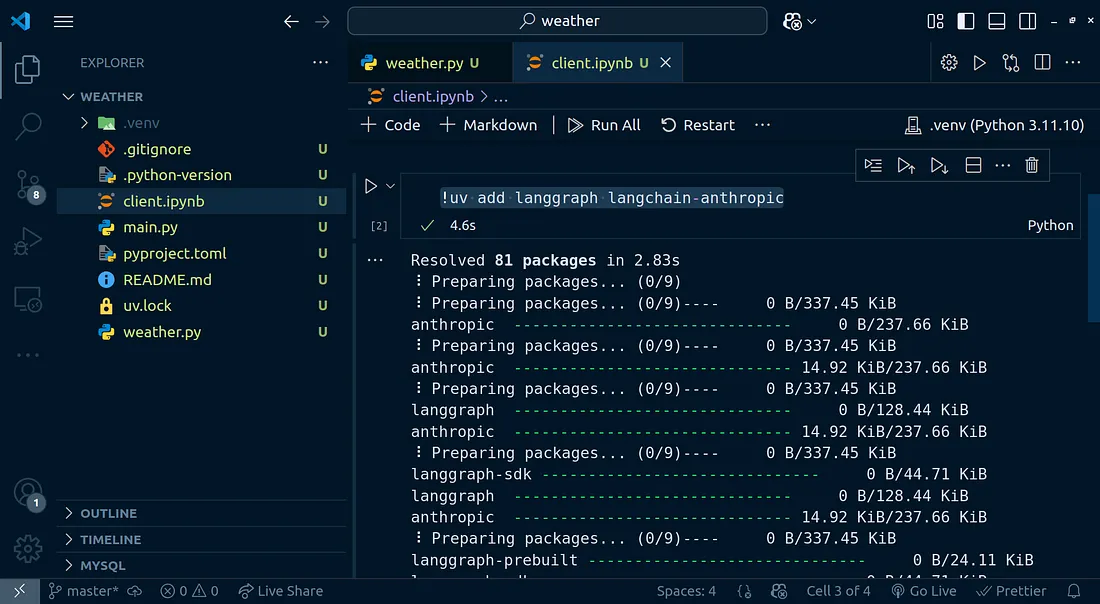 Load In Environment Variables
To get started, we need to have an Anthropic API key, you can get one from here.
Once you get your Anthropic API key, you can add in .env file, this file should be at the root directory of your project.
ANTHROPIC_API_KEY=sk-xxxxxxxxMake sure you substitute the placeholders with your actual API key.
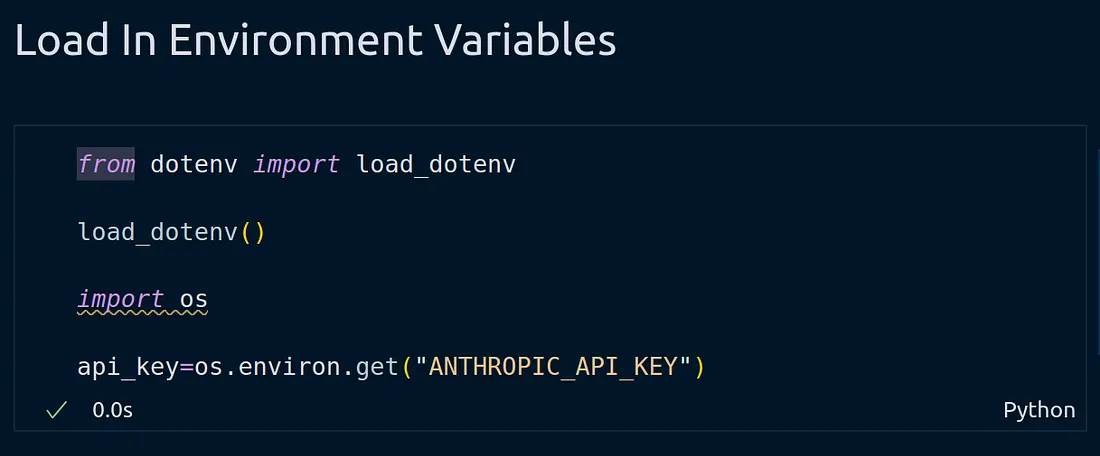
We can the load in the API key using:
from dotenv import load_dotenv
load_dotenv()
import os
api_key=os.environ.get("ANTHROPIC_API_KEY")
Creating Server Params For `stdio` Connection
We can now move on ahead and create the server parameters for our stdio connection to the MCP server we have running.
from mcp import ClientSession, StdioServerParameters
from mcp.client.stdio import stdio_client
from langchain_mcp_adapters.tools import load_mcp_tools
from langgraph.prebuilt import create_react_agent
from langchain_anthropic import ChatAnthropic
Let’s now move on ahead to creating the model, I’ll be using Anthropic as mentioned earlier, again we talked about how you can us multiple LLM providers.
model = ChatAnthropic(model="claude-3-5-sonnet-20241022", api_key=api_key)You can find more information on available Anthropic chat models here:
server_params = StdioServerParameters(
command="python",
# Make sure to update to the full absolute path to your math_server.py file
args=["./weather.py"],
)
async with stdio_client(server_params) as (read, write):
async with ClientSession(read, write) as session:
# Initialize the connection
await session.initialize()
# Get tools
tools = await load_mcp_tools(session)
# Create and run the agent
agent = create_react_agent(model, tools)
agent_response = await agent.ainvoke({"messages": "What is the current weather in California"})
agent_response Pretty Output
Let’s make the output look abit more pleasing
from IPython.display import display, Markdown
from langchain_core.messages import HumanMessage, ToolMessage, AIMessage
for response in agent_response["messages"]:
user = ""
if isinstance(response, HumanMessage):
user = "User"
elif isinstance(response, ToolMessage):
user = "Tool"
elif isinstance(response, AIMessage):
user = "AI"
if isinstance(response.content, list):
display(Markdown(f'{user}: {response.content[0].get("text", "")}'))
continue
display(Markdown(f"{user}: {response.content}"))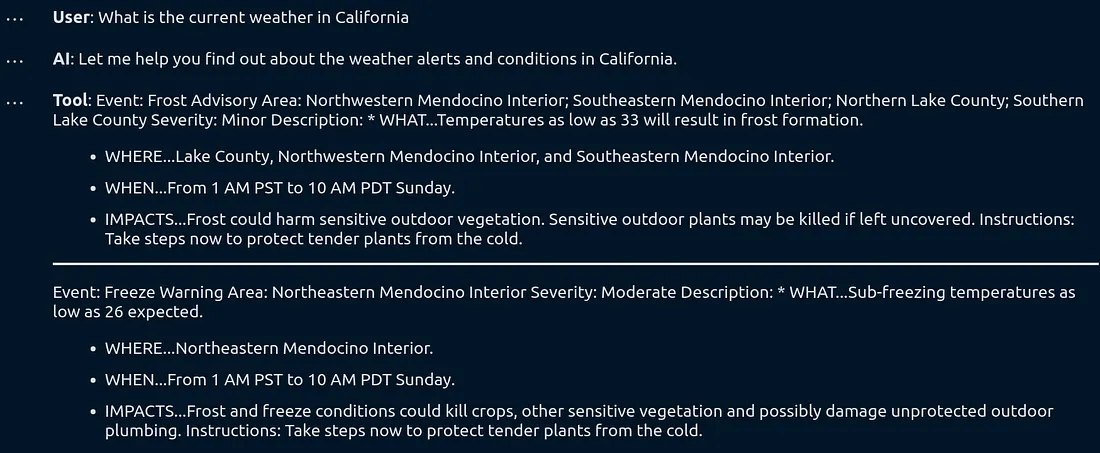
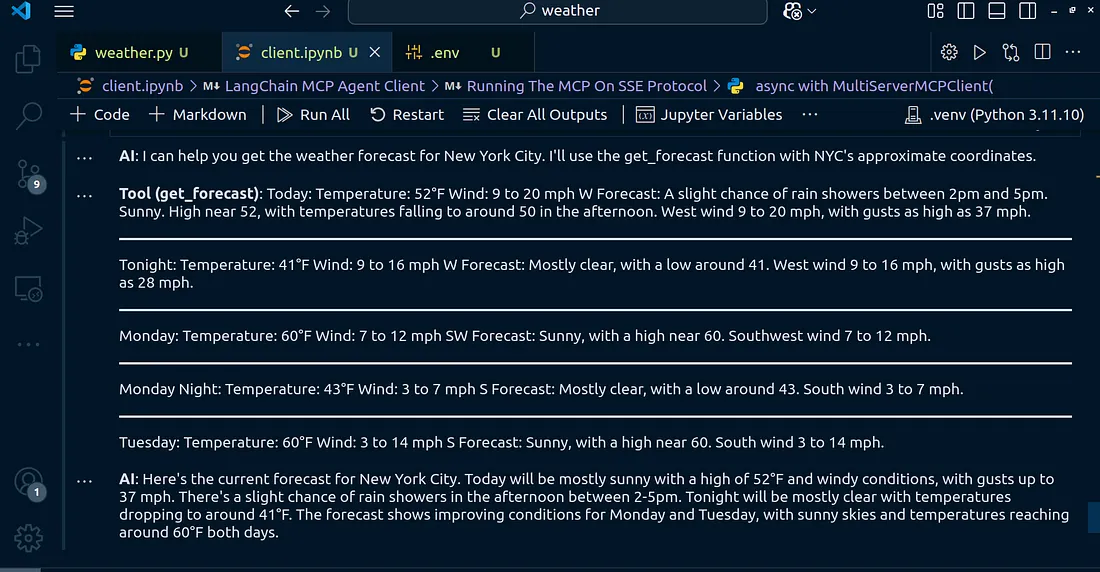
Running The MCP On SSE Protocol (Streaming Of Responses)
I want to be able to stream the responses for this we need to set the trasport type of our MCP to be sse
For this, stop the server (MCP server) and change this part of the code:
if __name__ == "__main__":
    # Initialize and run the server
    mcp.run(transport='sse')
Once doe, run the code again using:
uv run weather.py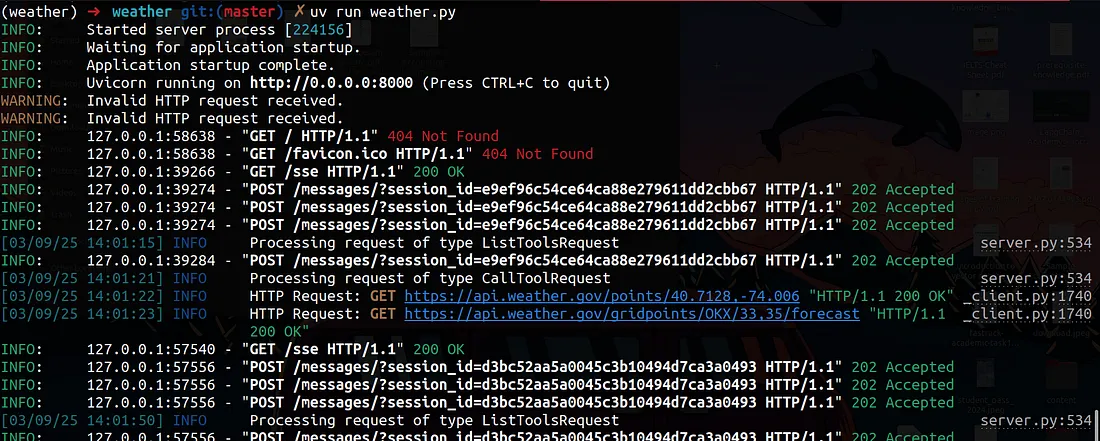
Back in the notebook, add the following cells:
from langchain_mcp_adapters.client import MultiServerMCPClientTo test it out, you can use:
async with MultiServerMCPClient(
{
"weather": {
"url": "http://localhost:8000/sse",
"transport": "sse",
}
}
) as client:
agent = create_react_agent(model, client.get_tools())
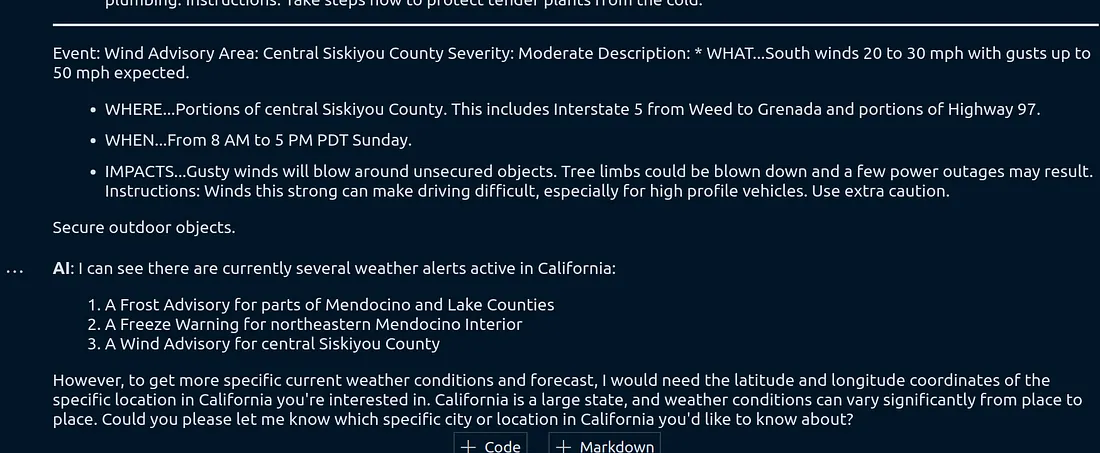
agent_response = await agent.ainvoke({"messages": "what is the weather in nyc?"})for response in agent_response["messages"]:
user = ""
if isinstance(response, HumanMessage):
user = "**User**"
elif isinstance(response, ToolMessage):
user = "**Tool**"
elif isinstance(response, AIMessage):
user = "**AI**"
if isinstance(response.content, list):
display(Markdown(f'{user}: {response.content[0].get("text", "")}'))
continue
display(Markdown(f"{user}: {response.content}"))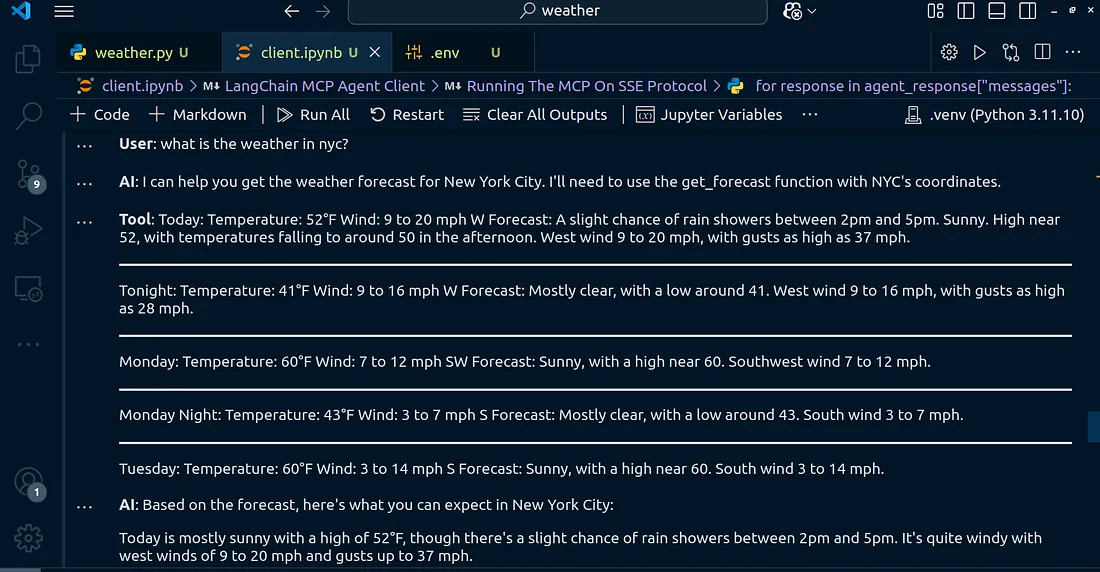
Streaming Responses
I want to be able to stream the responses as they come. For this, let’s write this lines of code:
async with MultiServerMCPClient(
    {
        "weather": {
            "url": "http://localhost:8000/sse",
            "transport": "sse",
        }
    }
) as client:
    agent = create_react_agent(model, client.get_tools())
    # Stream the response chunks
    async for chunk in agent.astream({"messages": "what is the weather in nyc?"}):
        # Extract the message content from the AddableUpdatesDict structure
        if 'agent' in chunk and 'messages' in chunk['agent']:
            for message in chunk['agent']['messages']:
                if isinstance(message, AIMessage):
                    # Handle different content formats
                    if isinstance(message.content, list):
                        # For structured content with text and tool use
                        for item in message.content:
                            if isinstance(item, dict) and 'text' in item:
                                display(Markdown(f"**AI**: {item['text']}"))
                    else:
                        # For simple text content
                        display(Markdown(f"**AI**: {message.content}"))
        elif 'tools' in chunk and 'messages' in chunk['tools']:
            for message in chunk['tools']['messages']:
                if hasattr(message, 'name') and hasattr(message, 'content'):
                    # Display tool response
                    display(Markdown(f"**Tool ({message.name})**: {message.content}"))
Running this code will stream out the content line by line